Handweaving as a process
Weaving Design
I work out most of the design issues ahead of time using drafting software. There are still a lot of unknowns at the design stage, since 3D weave structures aren’t shown accurately and the colors may be off. Careful preparation and happy surprises are just part of weaving!
The line across the top of this draft shows the pattern for the lengthwise threads (warp). The vertical line on the right shows the foot pedal (treadle) pattern, and the upper right square is a summary of the lever connections (tie up). The combination of warp pattern, treadle pattern, and tie up produce the fabric design.
Choosing colors— yay!
Once the weave structure is worked out, the colors come into play. Most weaves look best if there is a good amount of contrast in the colors or values. Creating optical blends is especially fun!
Setting up to weave
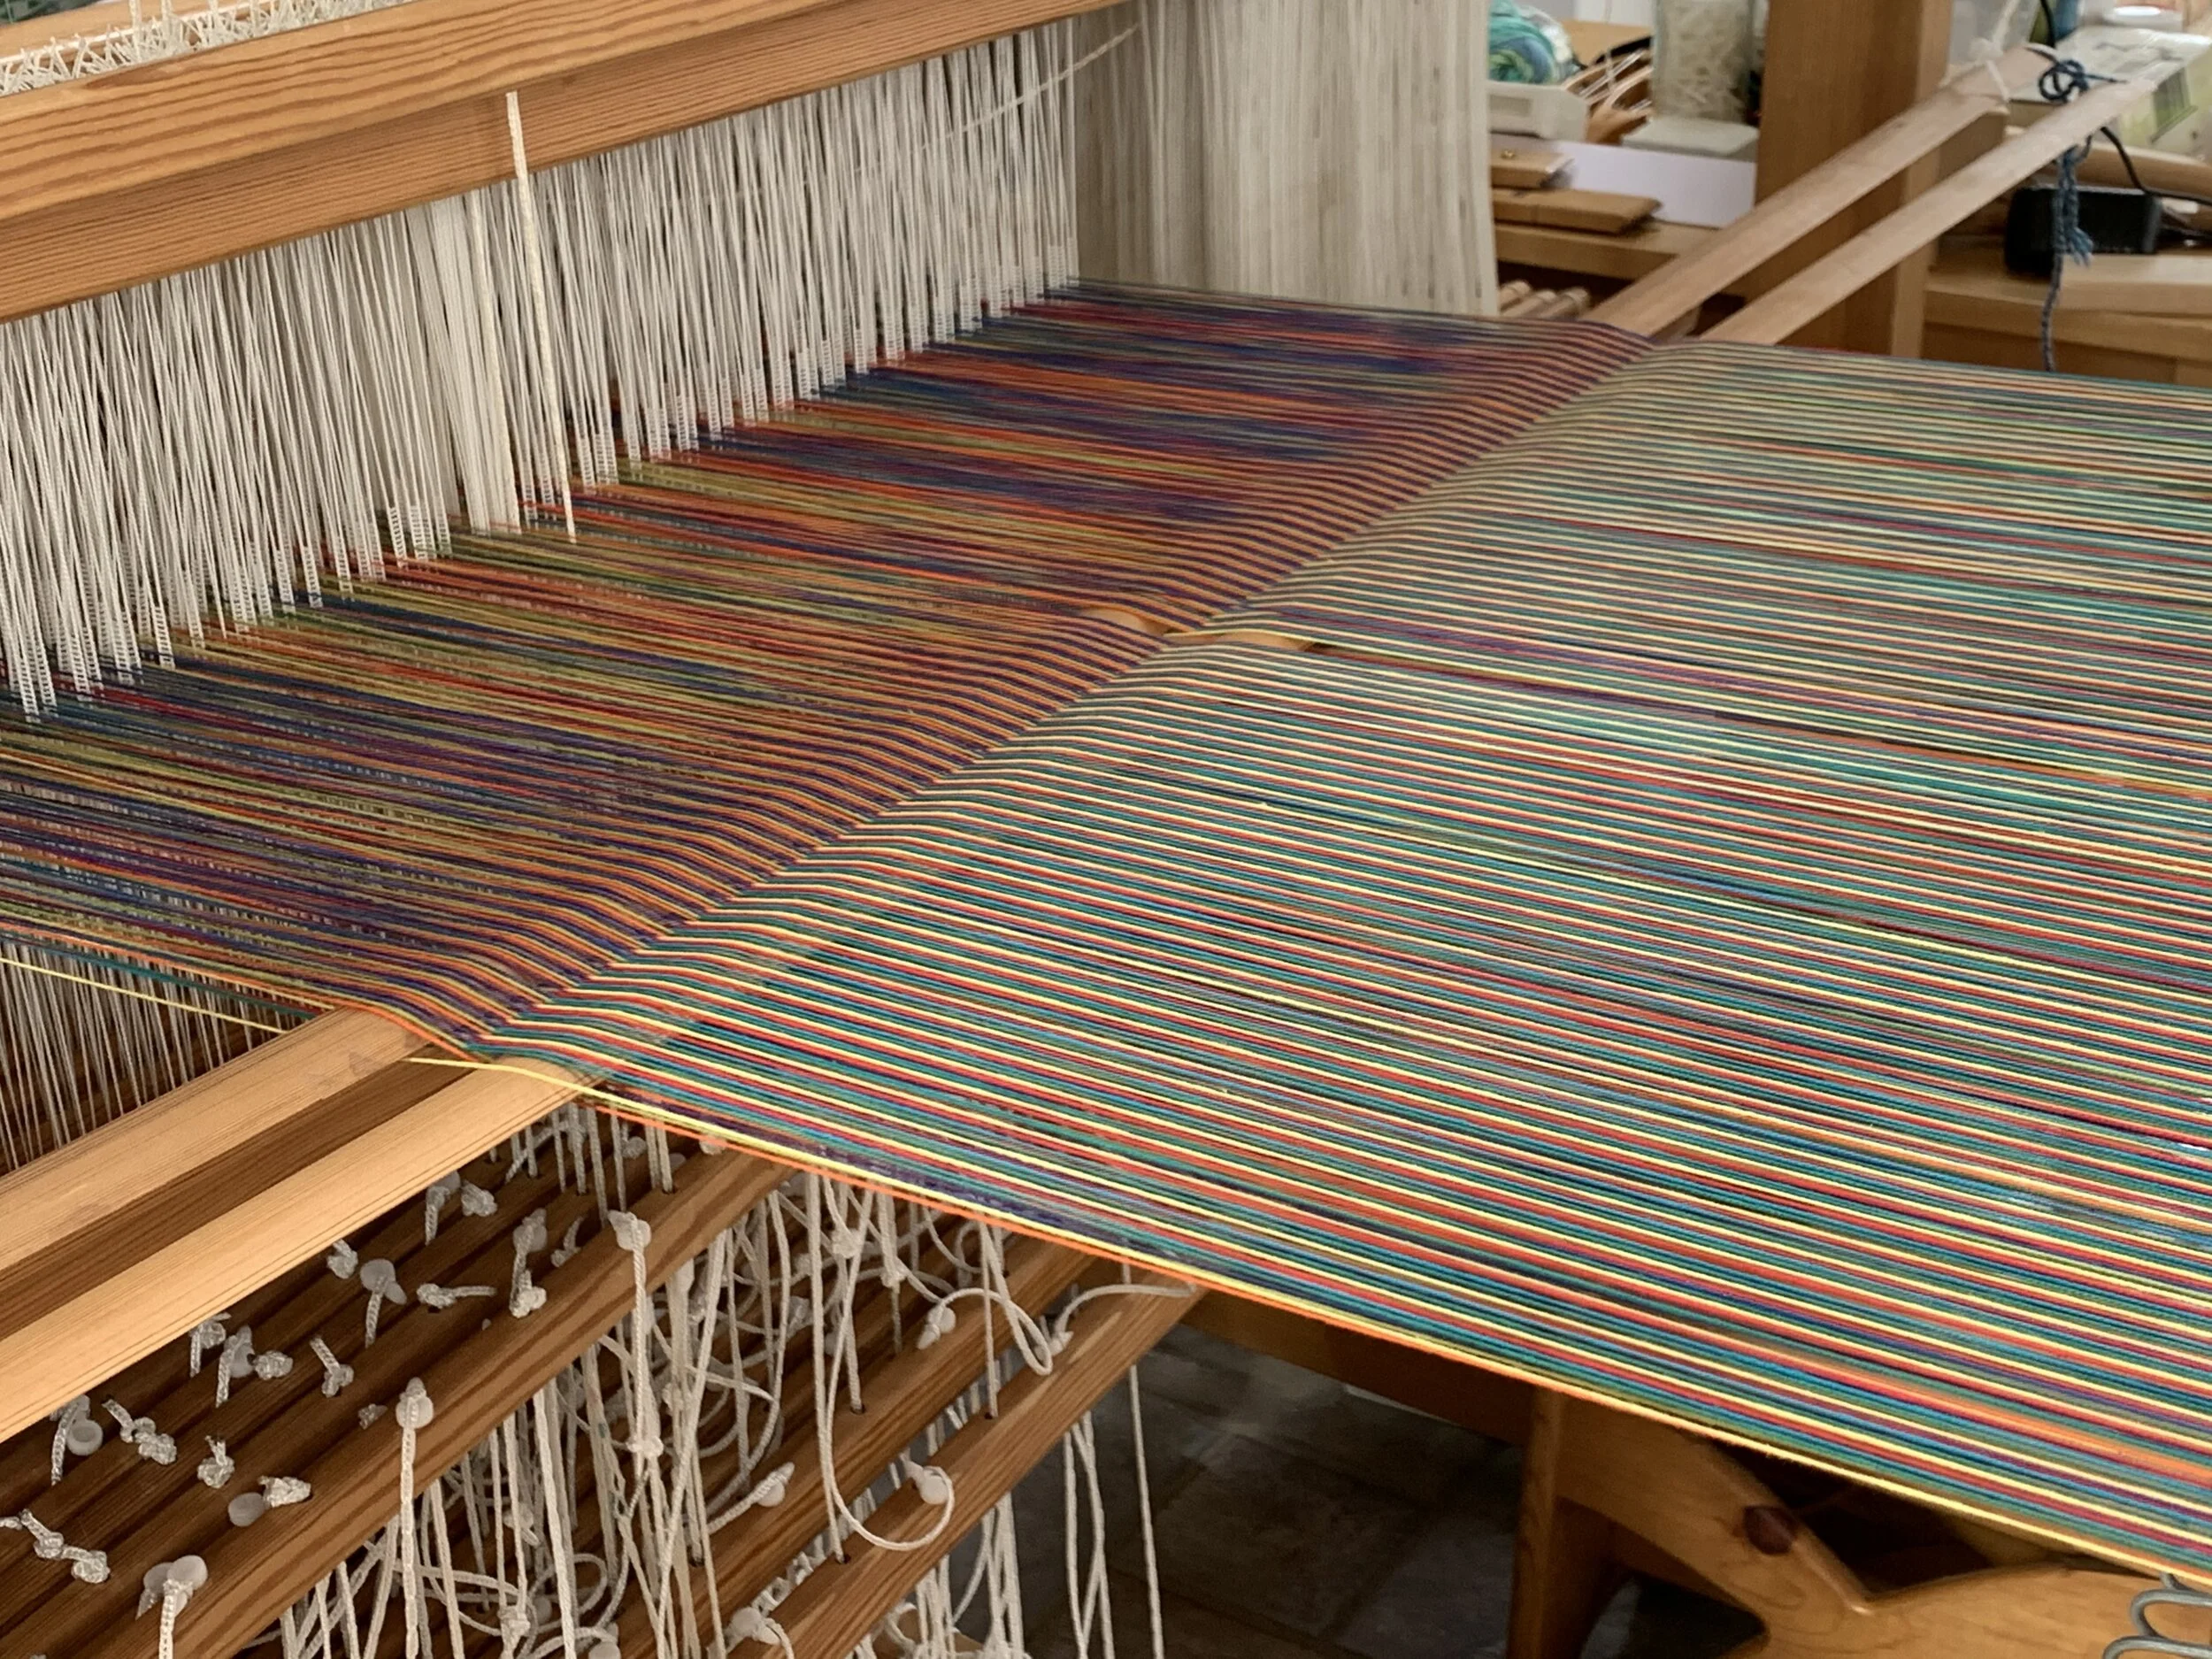
This is the slow part where each warp yarn is threaded one by one. It requires patience, diligence, and attention to detail. I go through a lot of audiobooks and podcasts at this stage! FYI, these photos are from three different projects— the basic steps are the same, just the yarn is different.
-

Measuring out the warp. All yarns should be exactly the same length. This is done on a warping mill. It spins!
-

Winding the warp onto the warp beam. Part of the countermarch tie up is visible near the top of the photo (back view). The tie up looks like beads on strings.
-

The warp yarns are threaded one by one through the heddles (vertical white strings, upper right) so that patterns can be woven. Countermarche tie up is partially visible at bottom left (back view).
-

Each individual yarn is threaded through the metal reed in the beater at the front to keep the warp yarns evenly spaced (front view). The beater is also used to “beat” or press the crosswise (weft) yarn into place in the cloth.
-

The treadles (foot pedals) are attached to the countermarche tieup (not visible) and ready to go (snail’s eye view, front). Each treadle is attached to each lever system and controls whether the levers go up or down.
Weaving the design
The actual weaving is often the fastest part of the project. At least, it feels that way!
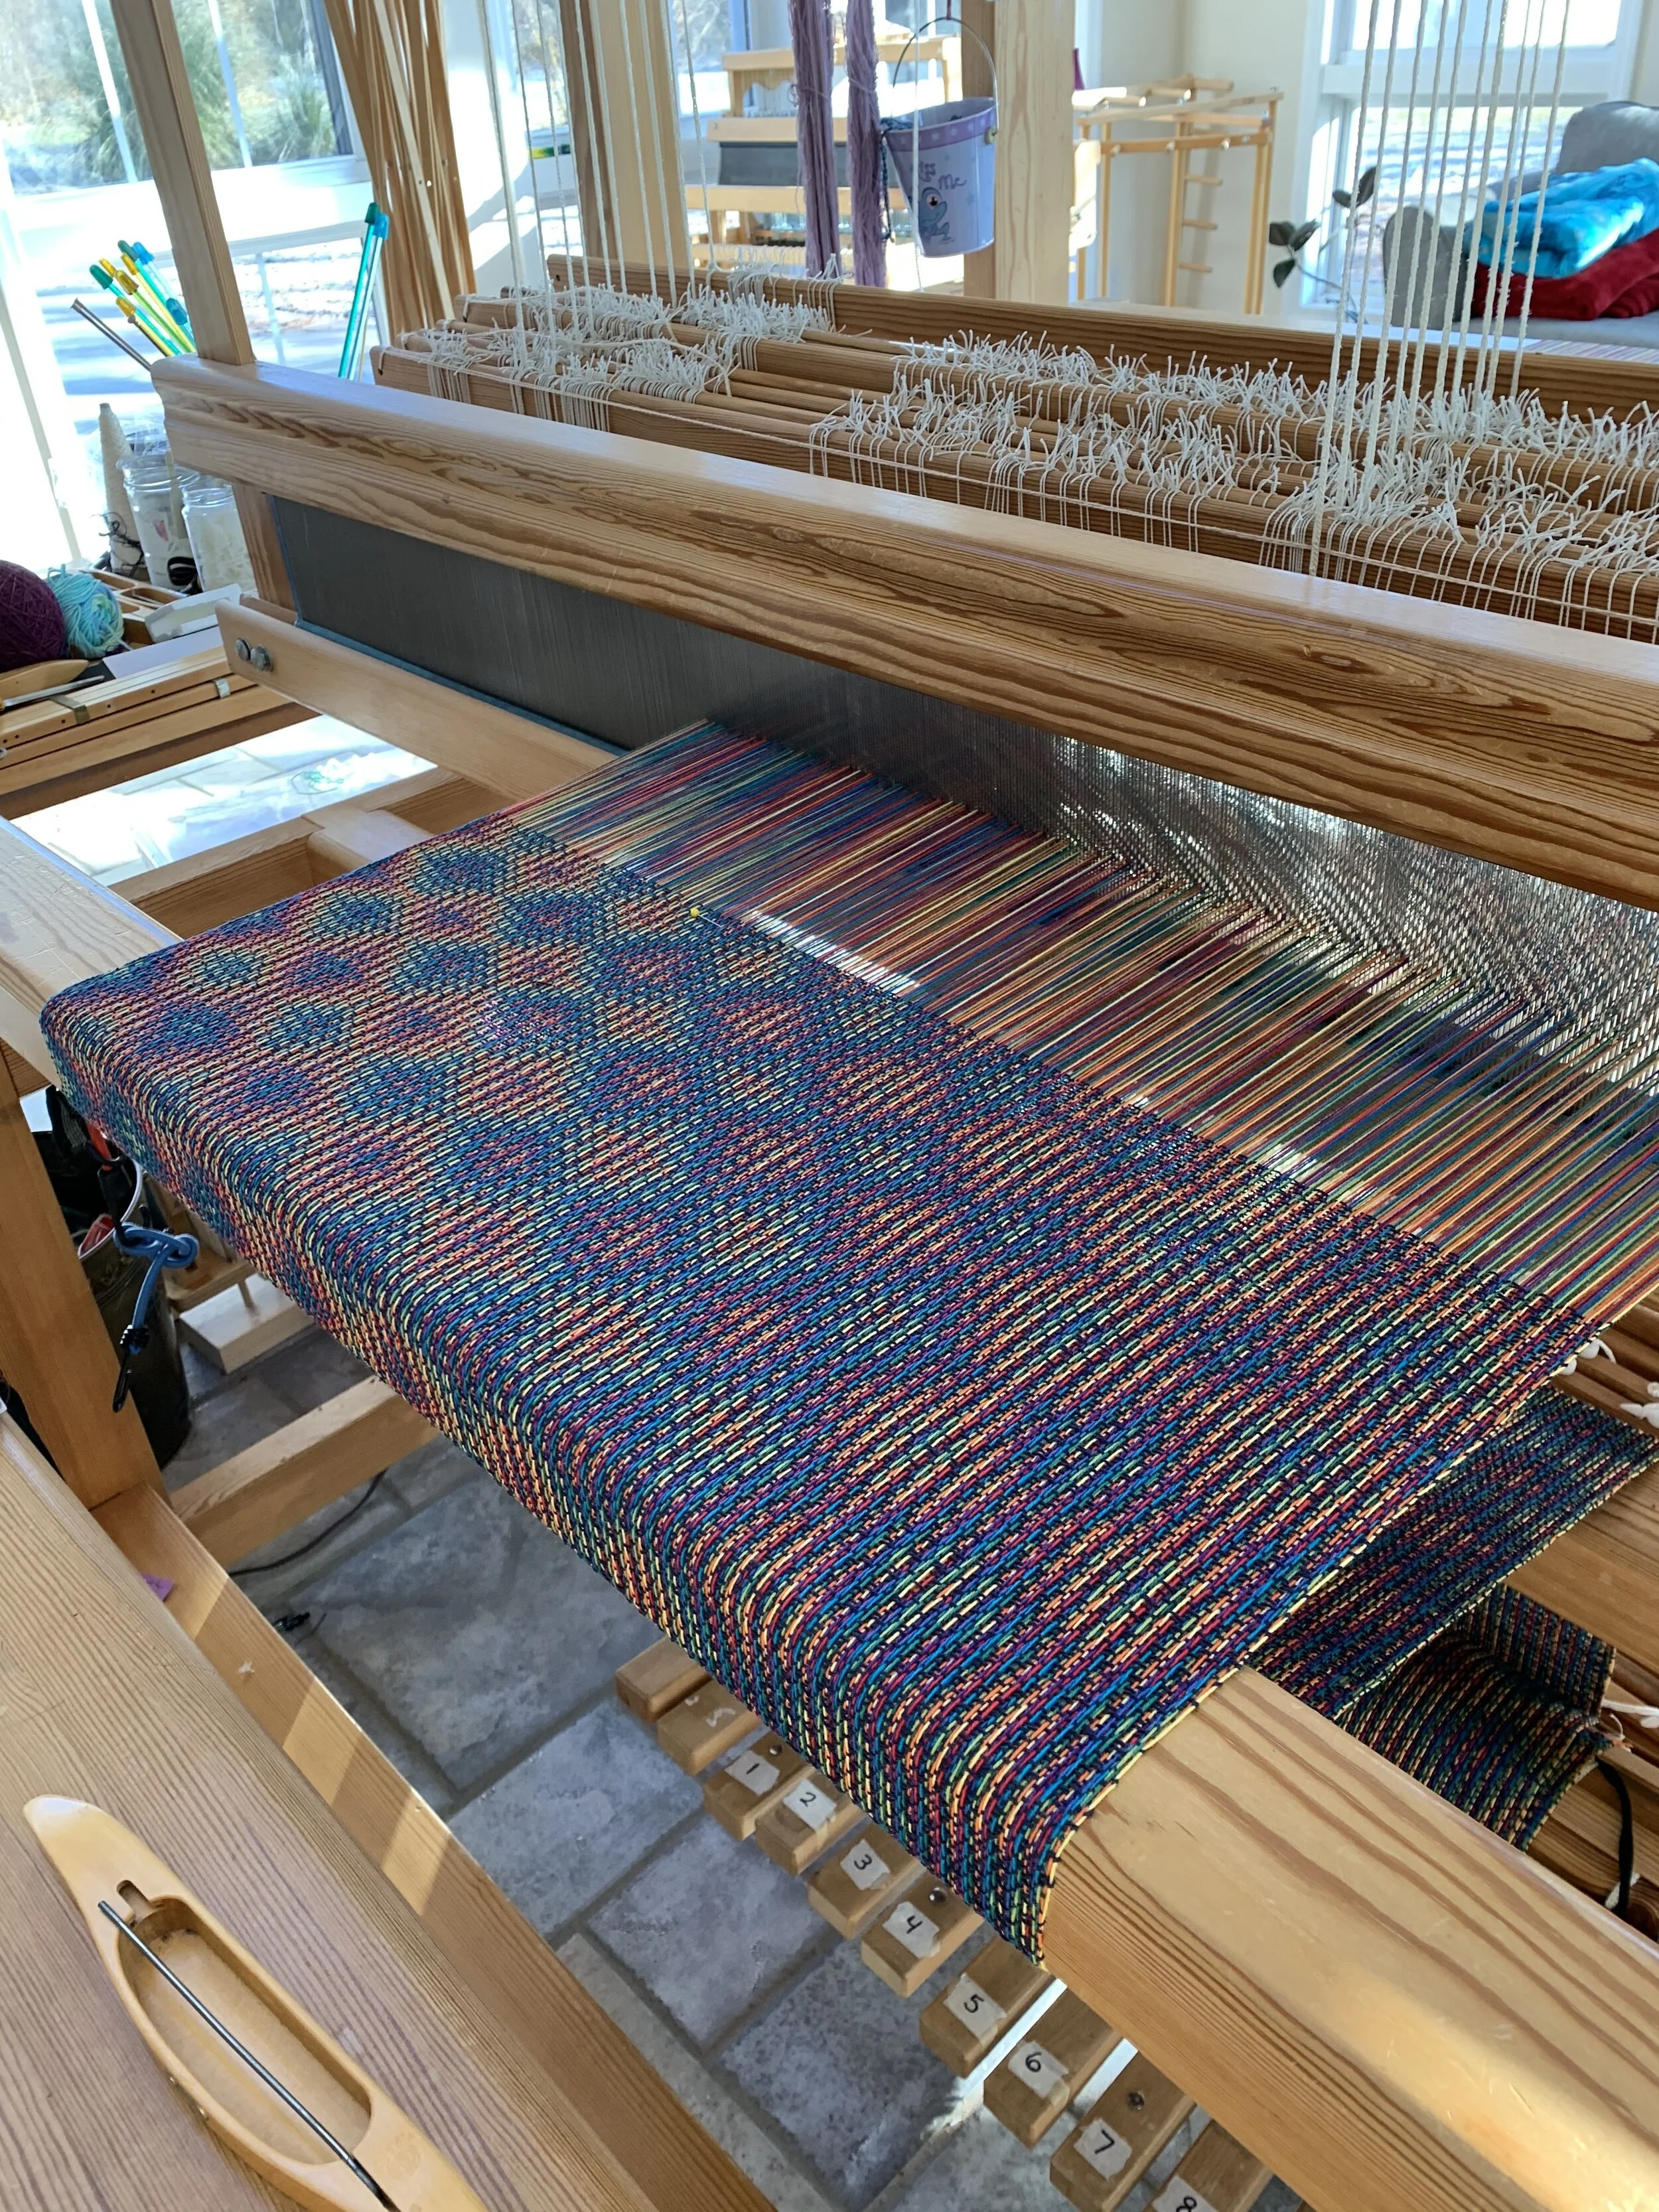
To create woven fabric, the weaver steps on a treadle to lift selected warp yarns. Then they pass a shuttle, which carries the crosswise yarn (weft) through the warp. In this photo, the shuttles look like wooden boat-shaped tools with black and purple yarn. Then the weaver beats the weft into its final position. These steps are repeated with different treadles, which lift different sets of yarns, over and over. This stage is quite meditative!
Finishing the edges
The top and bottom edges of handwoven items are loose and must be secured in some way. The edges can be sewn together or hemmed with a sewing machine, or the yarns can be left long and tied or twisted into a fringe (shown in the scarf below).
The finished object— a handwoven scarf!
All About Weaving looms
My primary loom is a Swedish countermarche, a complex wooden machine with a lot of moving parts. This loom is very versatile— it can create simple, bold designs or intricate, detailed designs depending on how it’s set up. Getting ready to weave is the most complicated part of the process.
(Photo: The Threshing Barn)
How weaving works
This simplified diagram outlines the anatomy of a large loom. Seen from the side, the front of the loom (breast beam) is pictured on the left and the back of the loom (back beam) is on the right. Yarn strands, aka the warp (blue lines), are stored on two horizontal beams (shown as circles here). They are called the cloth beam and the warp beam, Strands of the yarn are looped over the breast and back beams and stretched between them. This is where the weaving takes place, in the shed (middle front area). Patterns in the weave are created by lifting and lowering specific strands of yarn while the crosswise yarn interlaces with them. The weaver controls the pattern with the treadles (foot pedals, shown at lower left), which are connected to the yarn strands via the shafts and heddles (center),
(Illustration from Handwoven magazine)
Creating a weave pattern: This is how the yarns interlace in a plain weave, the simplest pattern. Alternating warp yarns up and down in each row locks the crosswise yarns (the weft) into place.
(Image: Colan Australia)
The countermarche system— this is where the complexity comes in!
People often ask how more complex patterns are created. The countermarche loom tie-up system (shown on the right) is a network of levers with customizable connections (shown as vertical lines). Each foot pedal (aka treadle, K) is connected to a unique subset of levers, allowing it to raise and lower specific shafts (D:E & G) to create the pattern. The treadles act like the functions in a computer program — they carry out specific duties and can be reused over and over.
(Illustration from Allfiberarts.com)
Meet my loom!
This is another side view, so you can see how the diagram seen above relates to the loom in real life. My loom has 12 treadles and 10 individual lever systems. The ship’s captain-style handles are attached to the cloth and warp beams where the yarn is stored. Cool, aren’t they?
The vertical white strings you see in the middle of the front half of the loom are the heddles. They keep the individual yarn strands in order and connect them to the lever system so they can be pulled up and down during weaving. One heddle is required for each strand of yarn. There are several hundred on my loom.
Depending on the width of the weaving and the number of yarn strands required per inch, it can take anywhere from a few hours to a week to set up for a weaving project.


